The Daily Texture for 01/23/2015
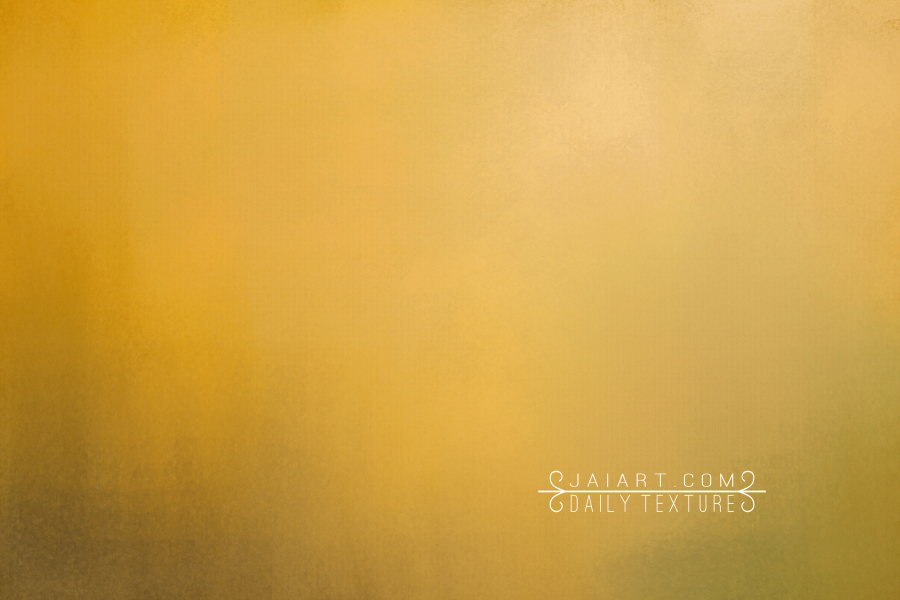
BackLit
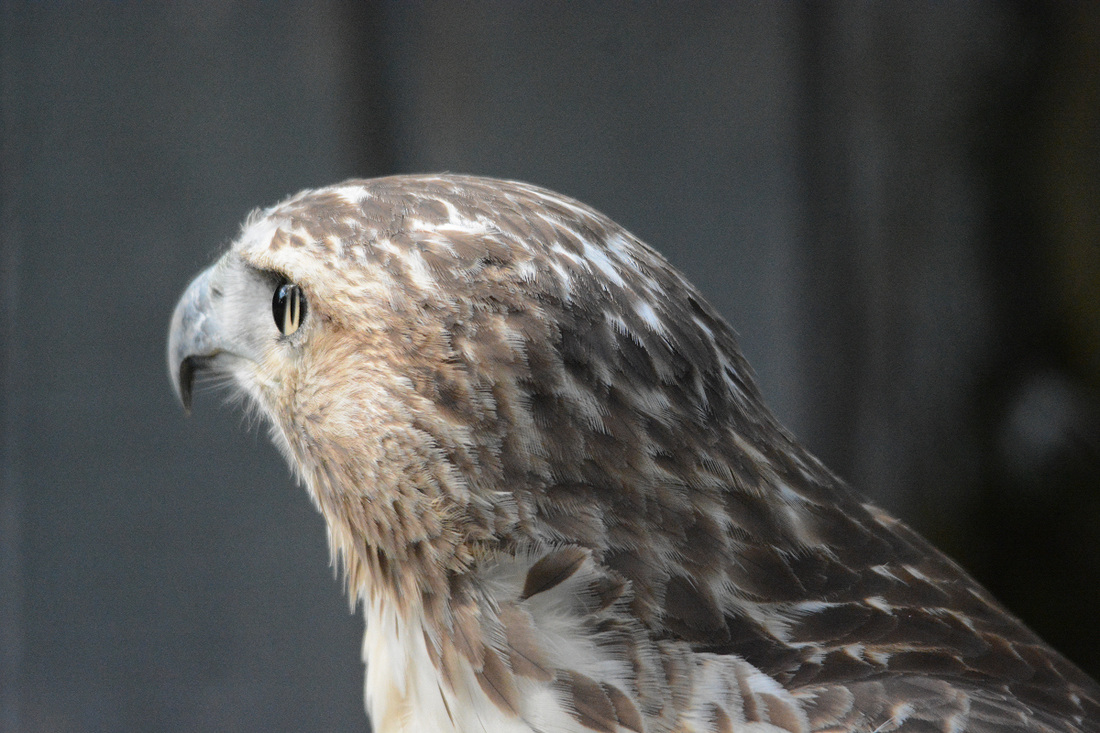
It never fails...when you're at the zoo or a wildlife refuge center, unless it's a cloudy day, your photos will have some harsh sunlight or back lighting on your subjects. This is because the subjects are in cages or enclosures, and unless the enclosure has a solid background, there will be light entering from the opposite side of where you're shooting. Which was the case when photographing this Red Tailed Hawk at a wildlife refuge in Reelfoot, Tennessee. As you can see from my original photo below, the light from the opposite side is coming in. I walked around to the other side of the enclosure, but my photographic view from that side wasn't as good as it was from this side. So I had to work with the light.
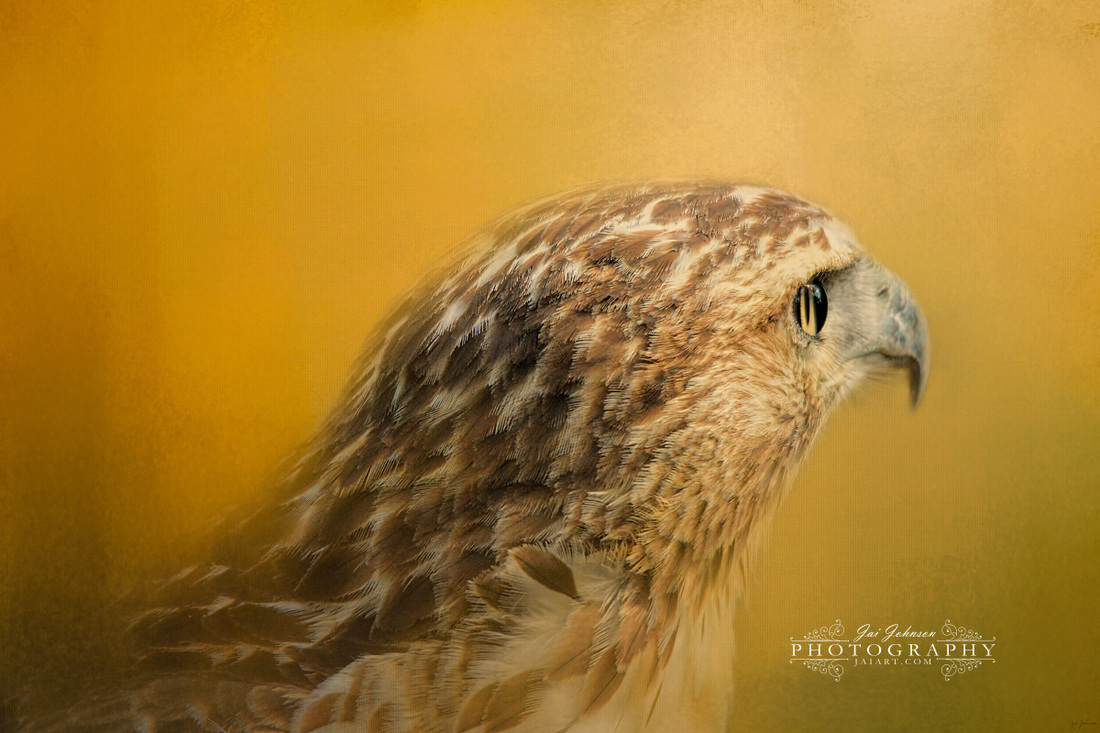
It's a good photo "as is", but I didn't like those pesky cage bars in the background. I could have chosen a grayish texture to keep things in tone with the original photo, but I love the warmth of sunlight, so I used today's Daily Texture - BackLit. The first thing I did was mirror image the bird so the light on his face was lined up with the lightest spot on the texture. TIP: Always make sure the lightest spot on the texture/background matches up with the lightest spot on your subject, so the finished image will make sense to the viewer. Then I masked out the background of the original photo, revealing the texture background layer I had placed underneath the bird photo. I also lightly masked off the edge feathers of the bird, bringing the color of the texture into his feathers.
After finishing the masking, I duplicated the texture layer and brought it to the top, setting it to multiply at about 50% to give this image more depth. Then I duplicated the texture layer again and brought that one to the top, setting it to soft light at 100%...this gave a little more punch of light to his facial area and eye -- but, it was way, way, way too yellow! The solution to that was to fully desaturate the color on THAT LAYER ONLY, which left the light on his face where I wanted it, but took down the color tone to match the color of the other layers beneath. TIP: If any of your texture layers produce too much color...try desaturating that layer only and see if you like the results better!
Like this texture? Buy it here for only $2. Commercial Use OK.
 |  |
 RSS Feed