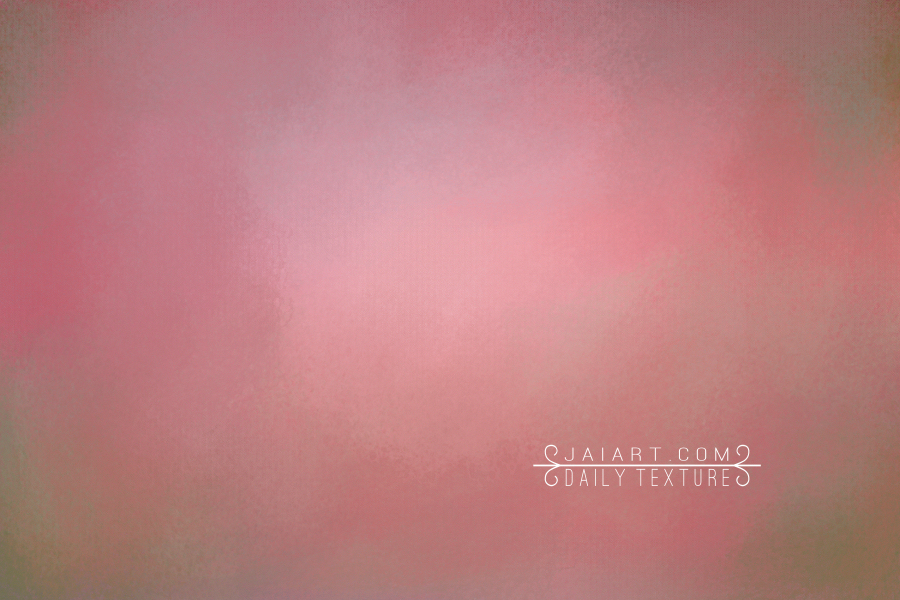
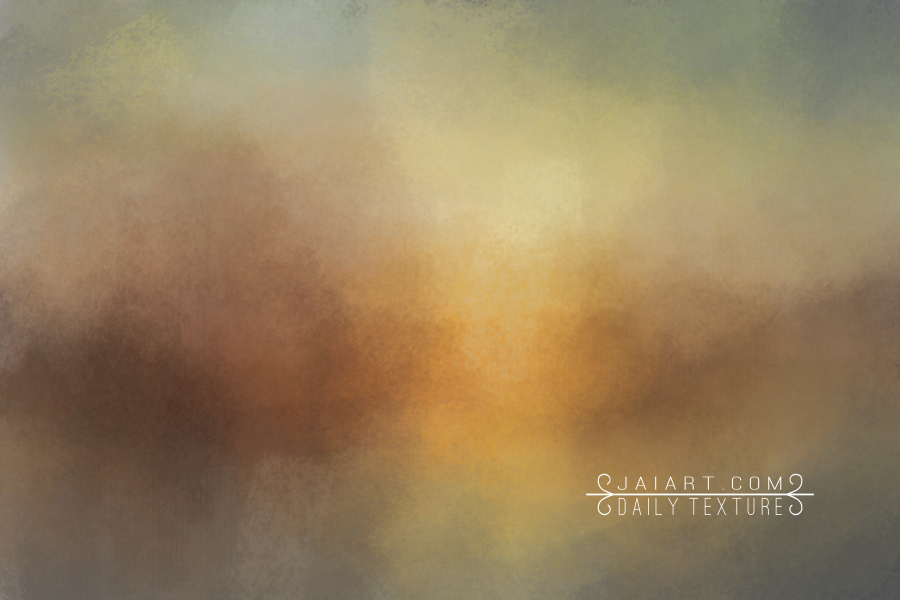
The Daily Texture For 12/31/2014
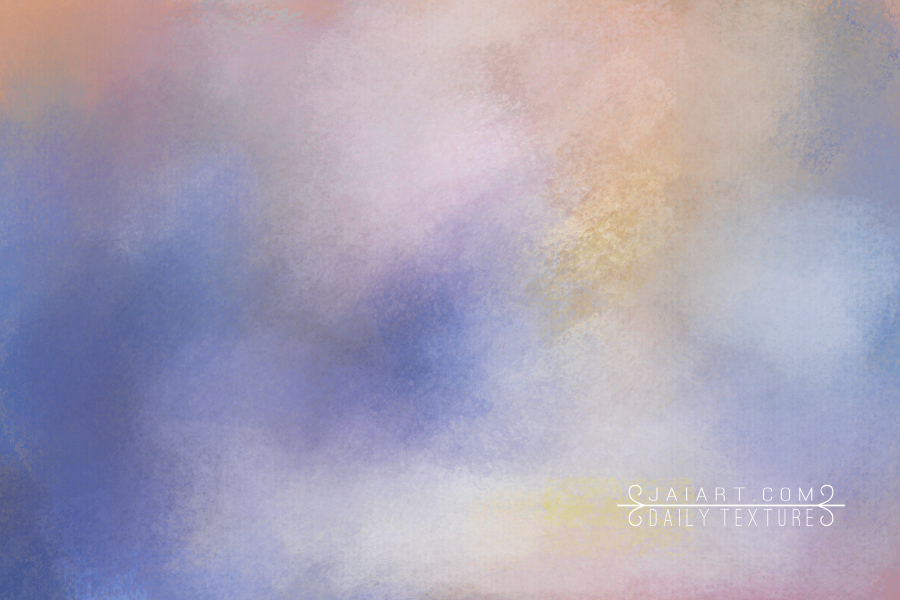
Winter Evening
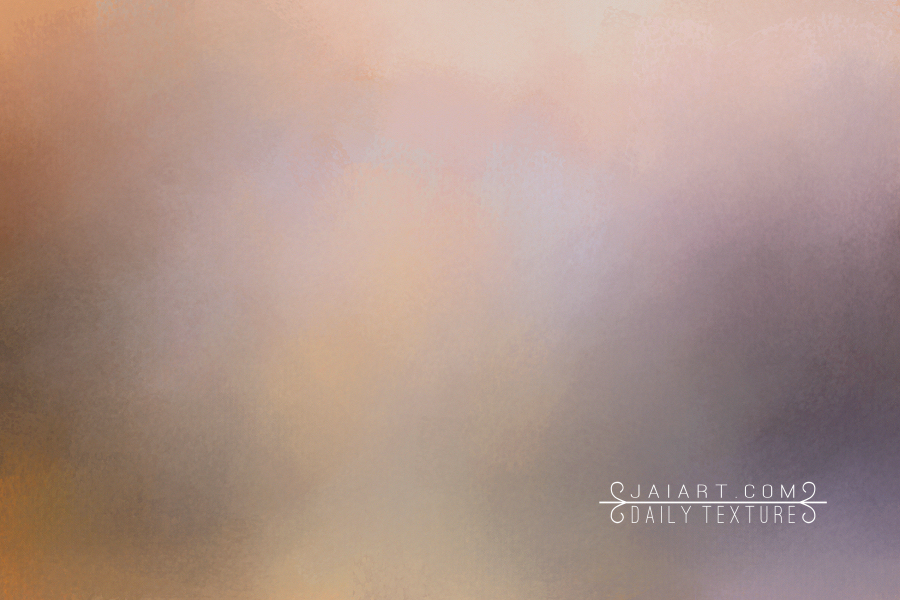
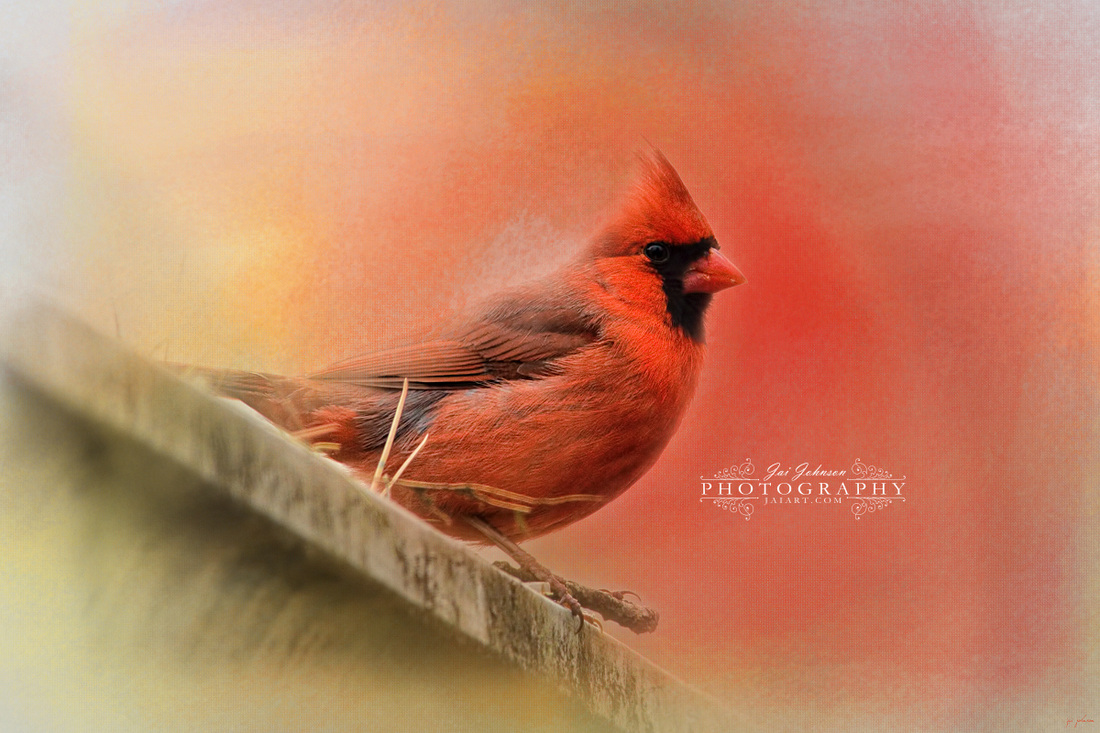
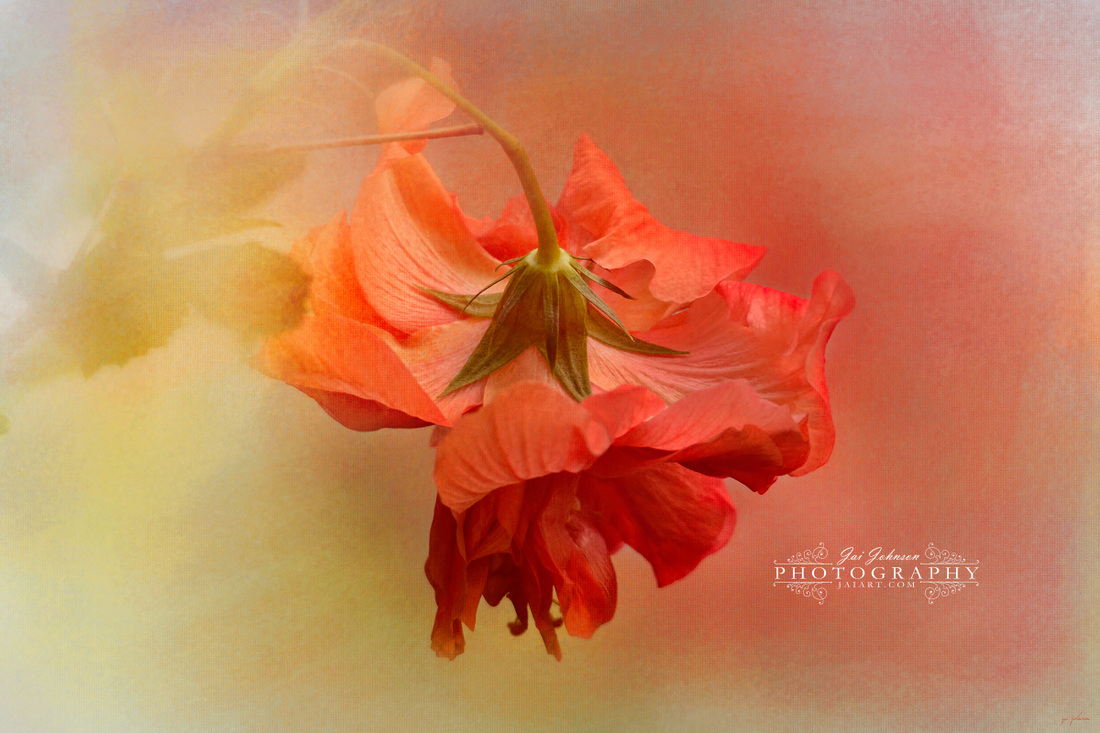
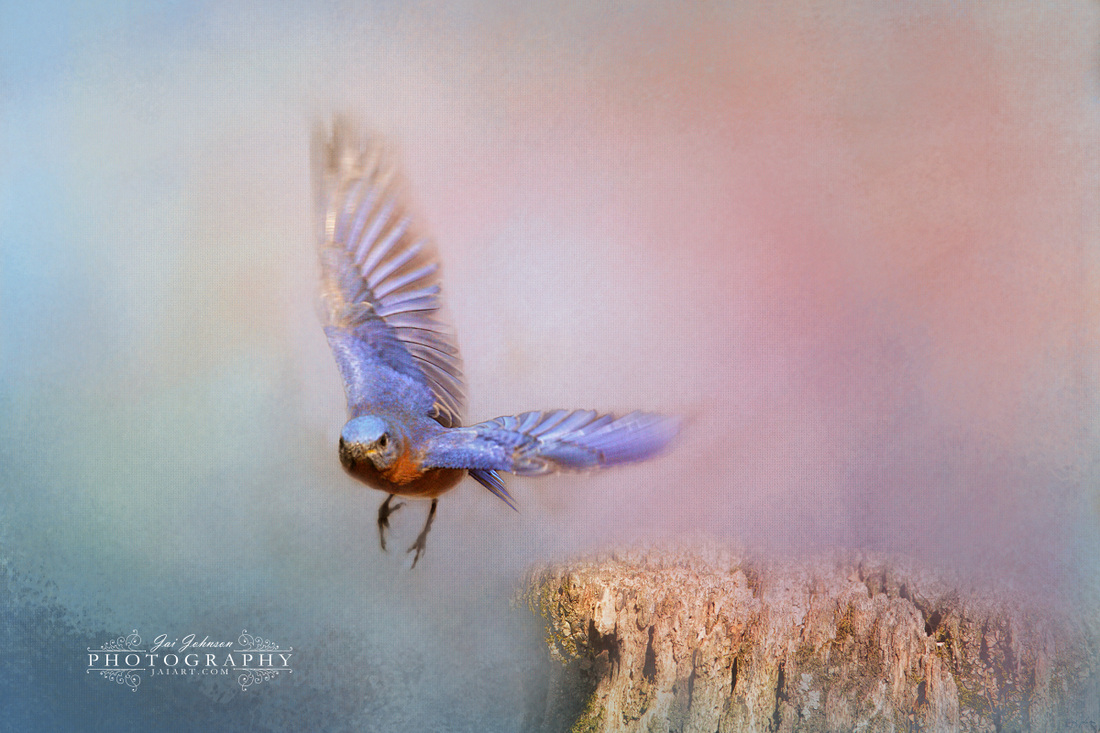
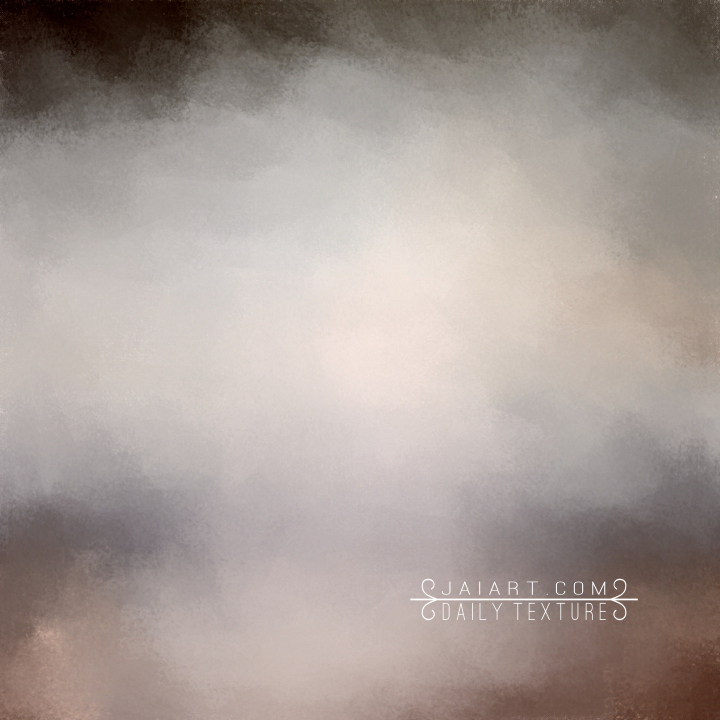
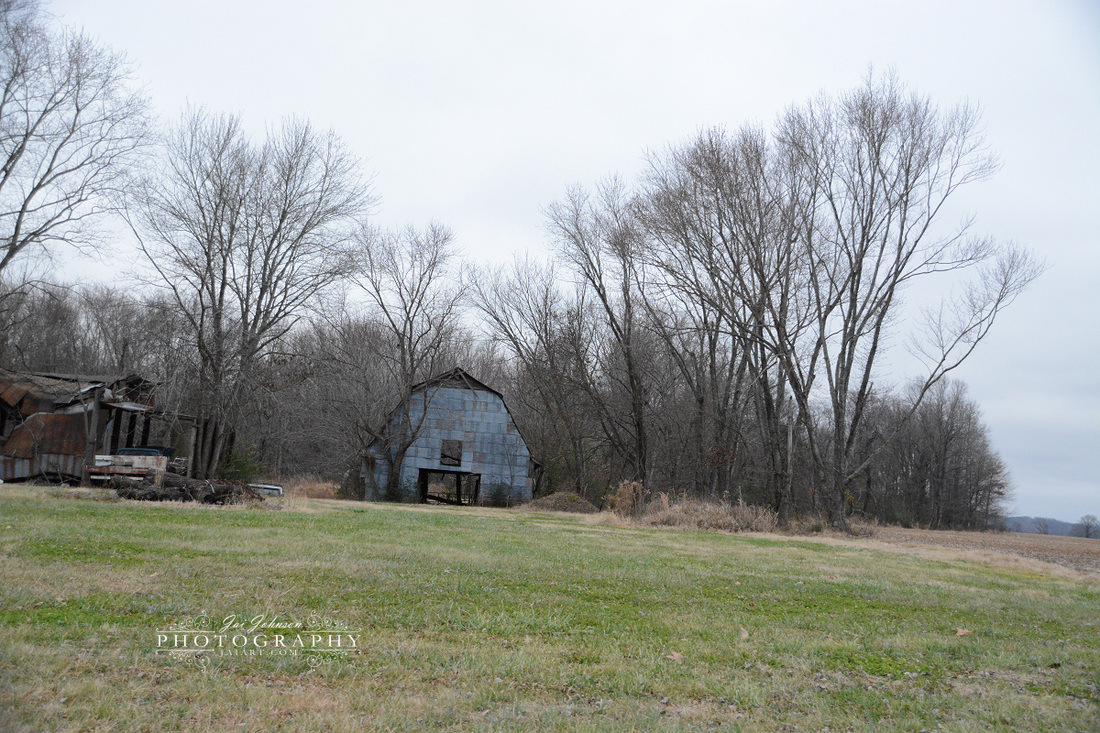
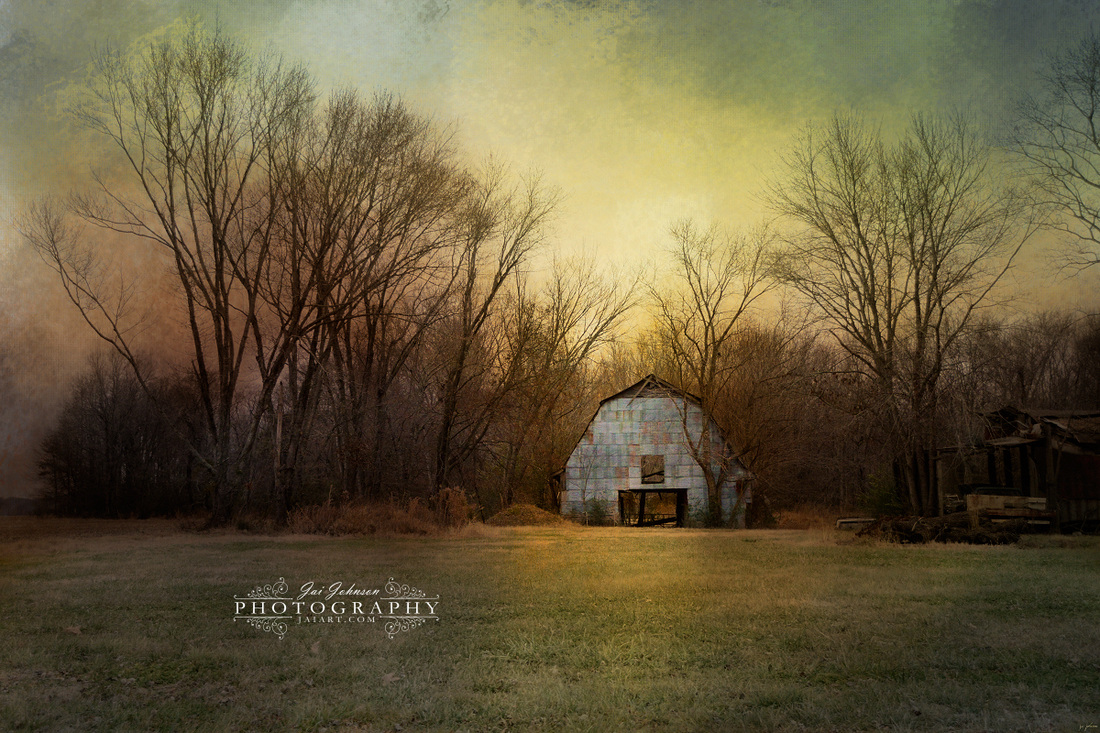
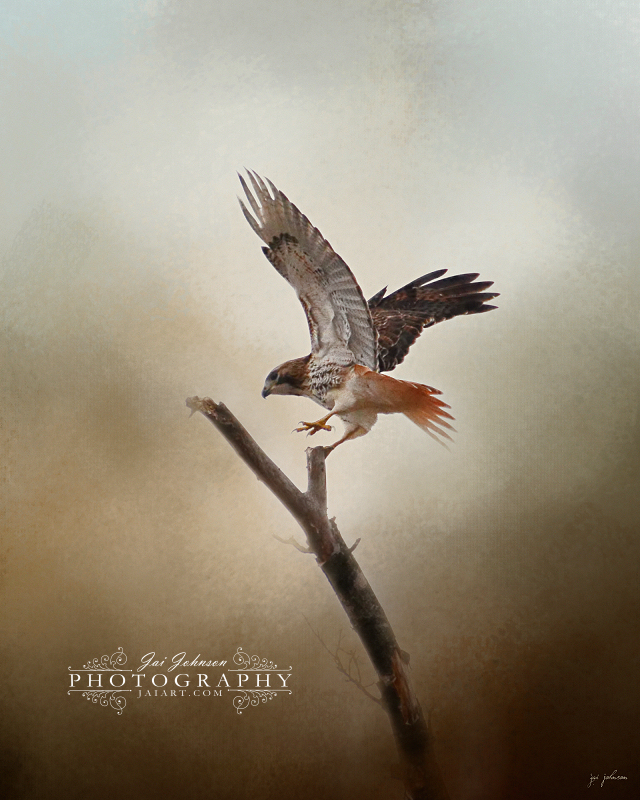
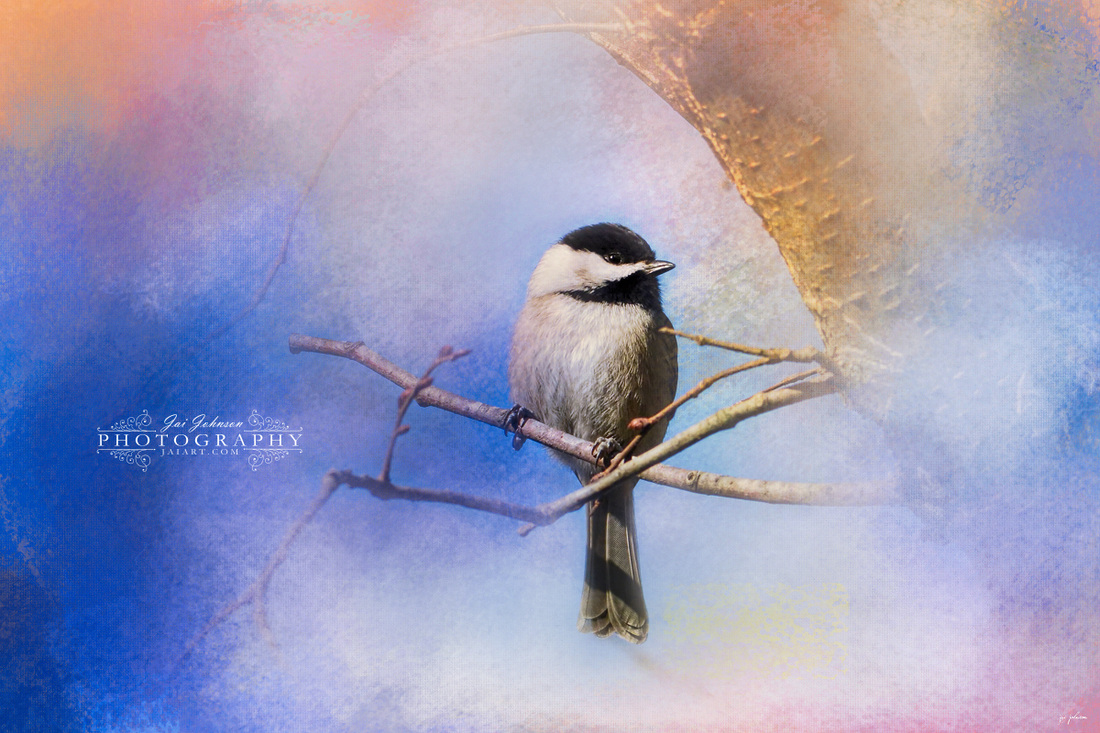
Today's Daily Texture features the glorious colors of a winter evening with the glow of the setting sun. If I had a snow landscape, I'd have tried this texture on it -- but living in West Tennessee, we don't see a lot of snow. :( So I chose to use the texture on one of my beautiful mourning doves I photographed last winter. I've shown an image below with the layers panel to demonstrate how I got this result. I first placed the texture as a layer above the original photo and set it to soft light at 100%. This gave some nice glow to the bird, and it allowed the feathers to pick up the colors in the texture. Then I placed the original texture as a new layer at full strength and masked out the bird, as well as masked the texture off some of the background branches. After masking, I duplicated that layer and set it to multiply at 50%. This gave some rich depth to the colors. I then duplicated that layer, and set it to hard light at 30%, which put a stronger light glow on the bird. Finally, I merged all the layers together.
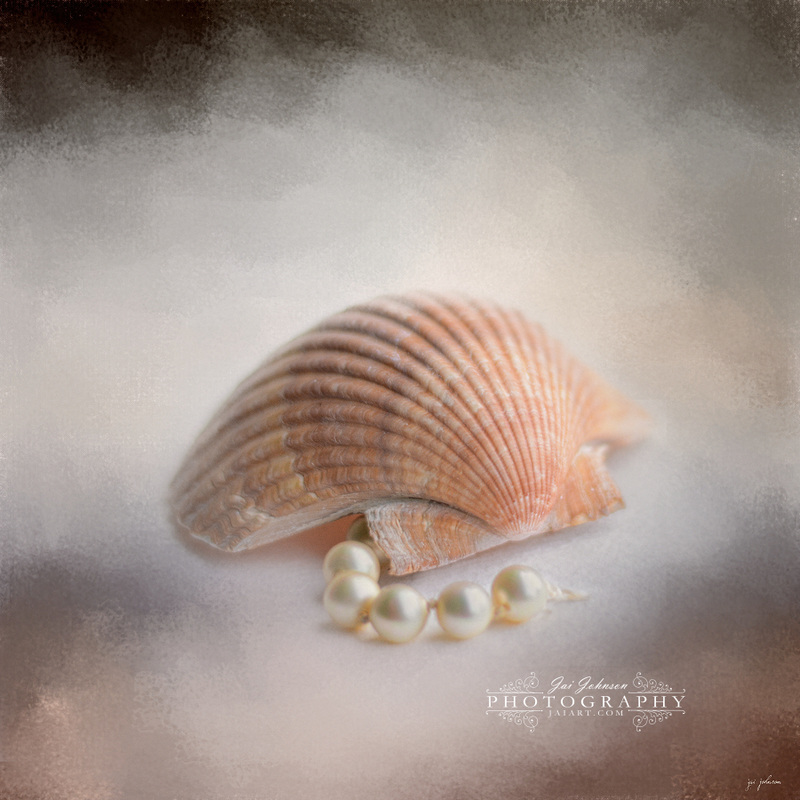
Like this texture? Buy it here for only $2. Commercial Use OK.

Click to enlarge to see the layers panel | 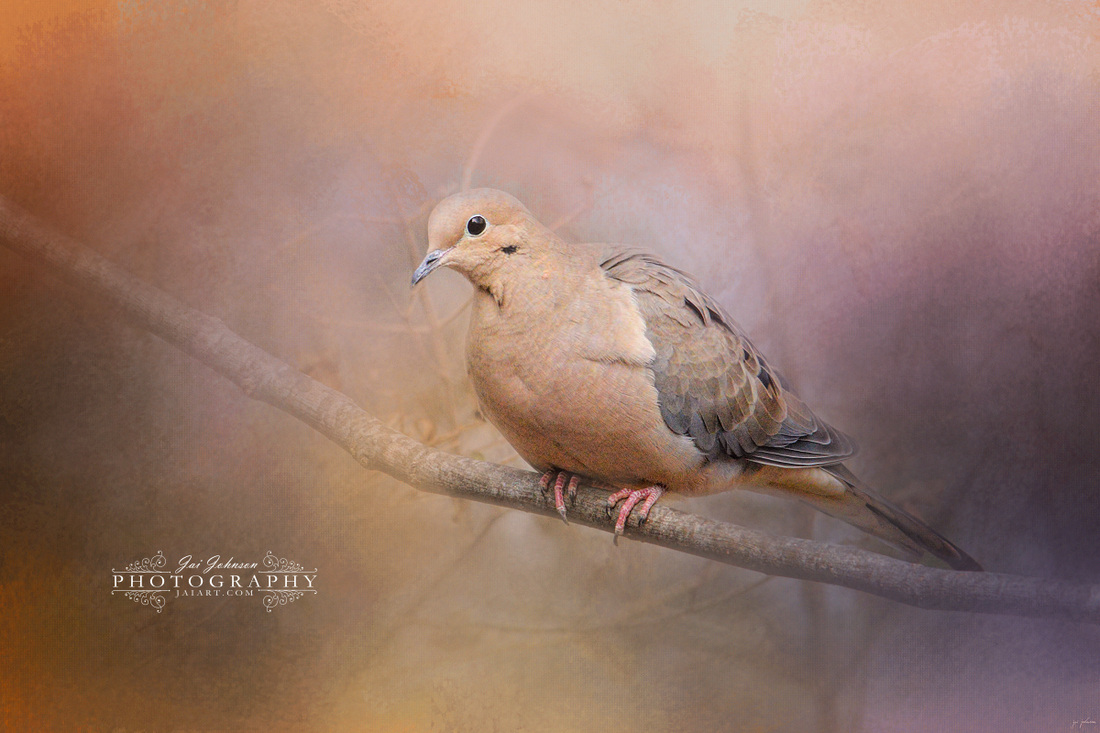
|


 RSS Feed