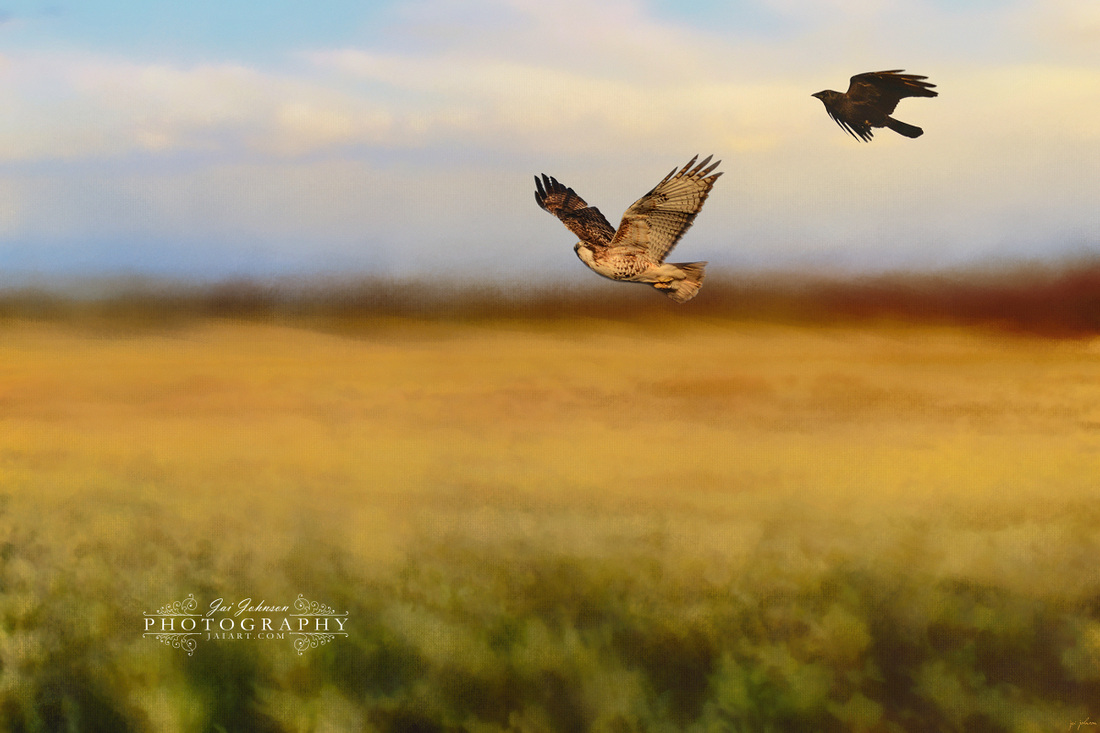
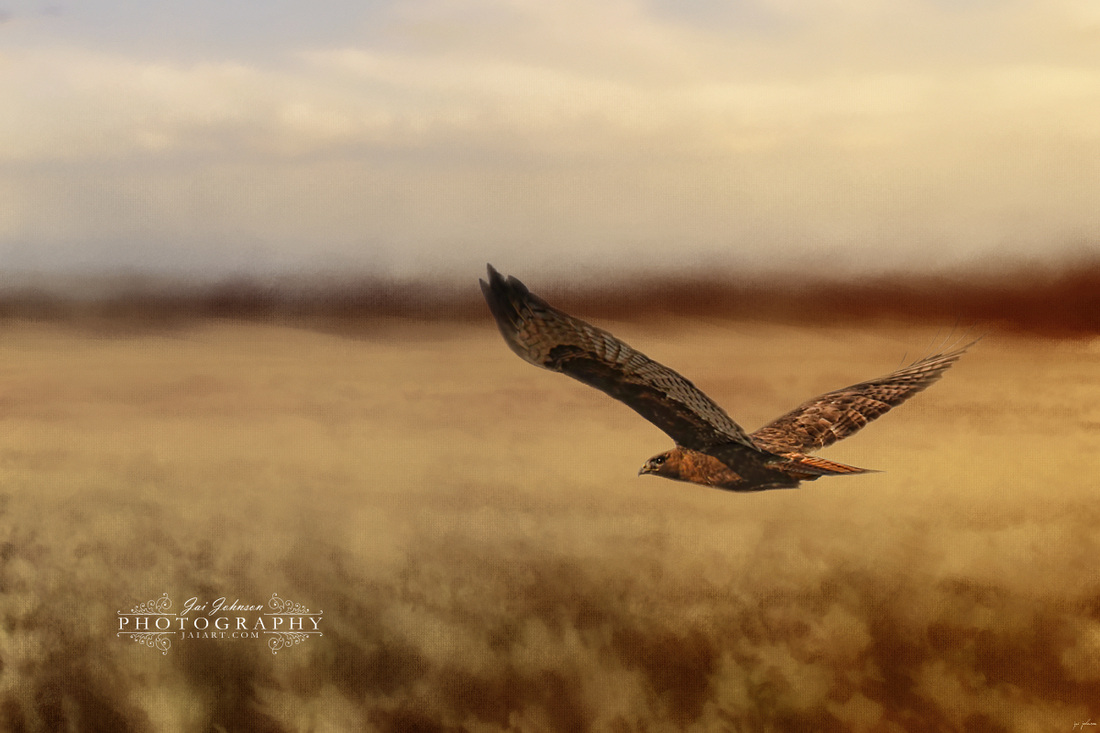
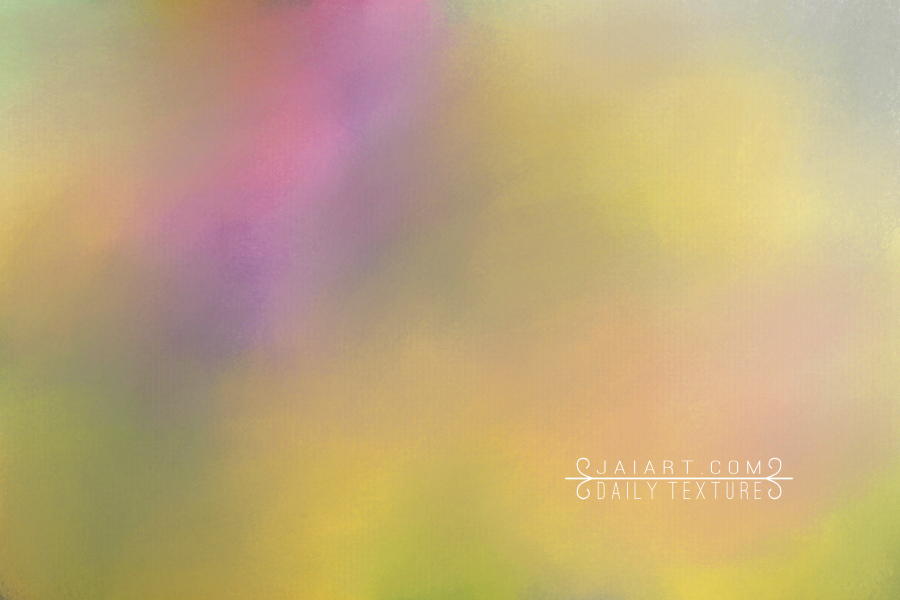
The Daily Texture for 01/31/2015
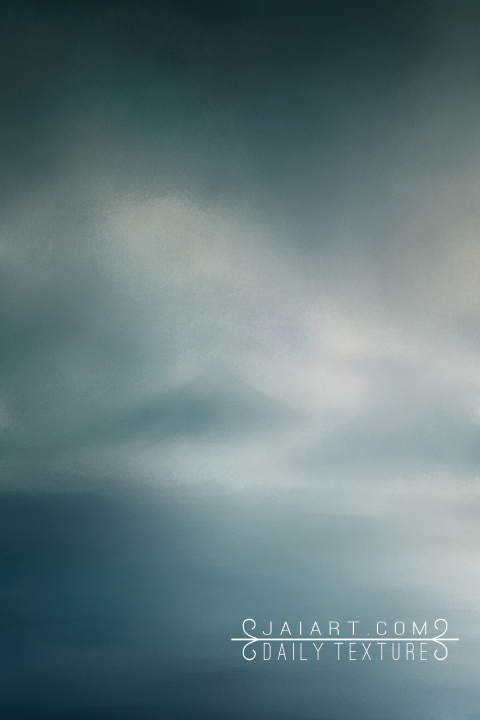
Sunrise At Sea
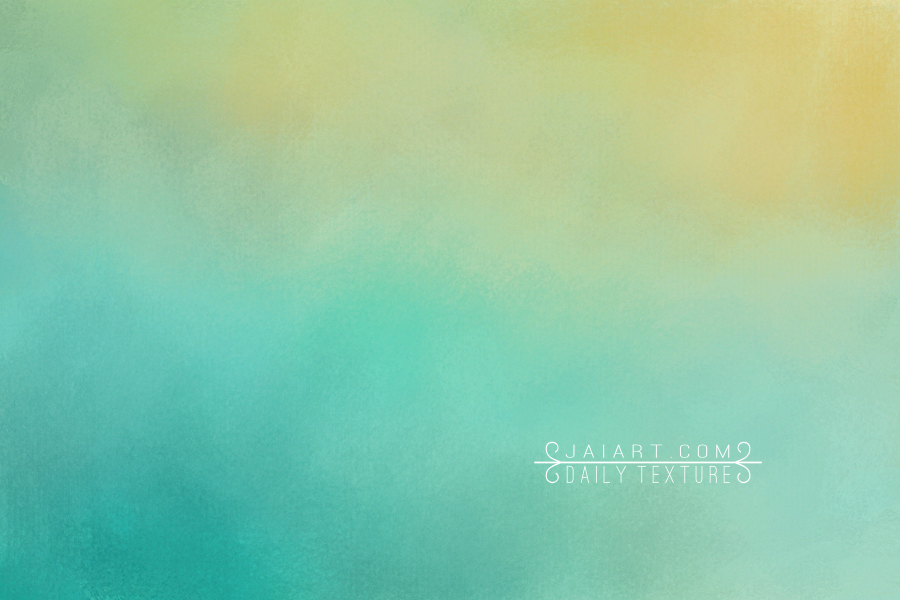
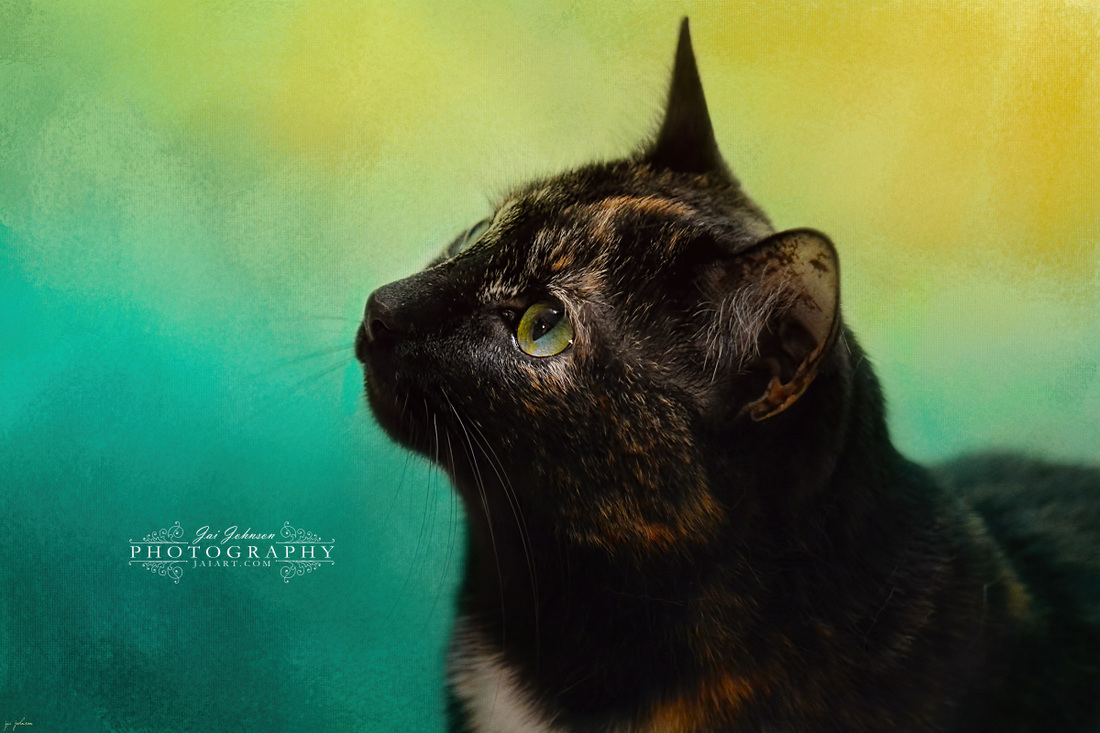
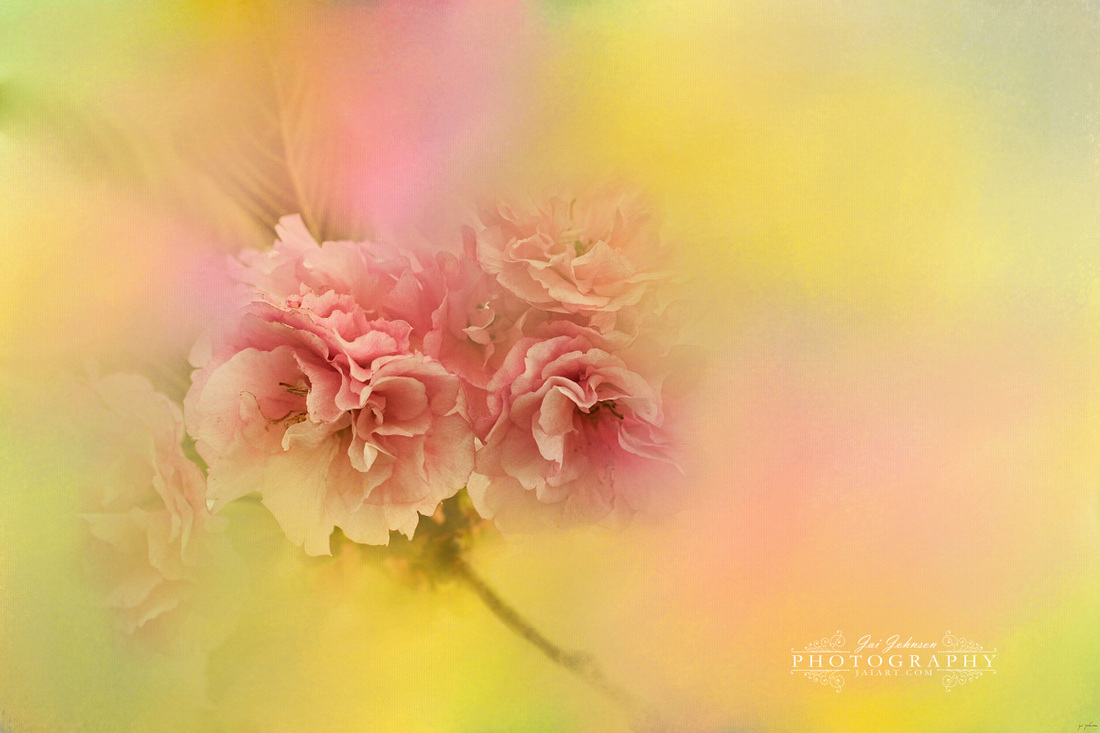
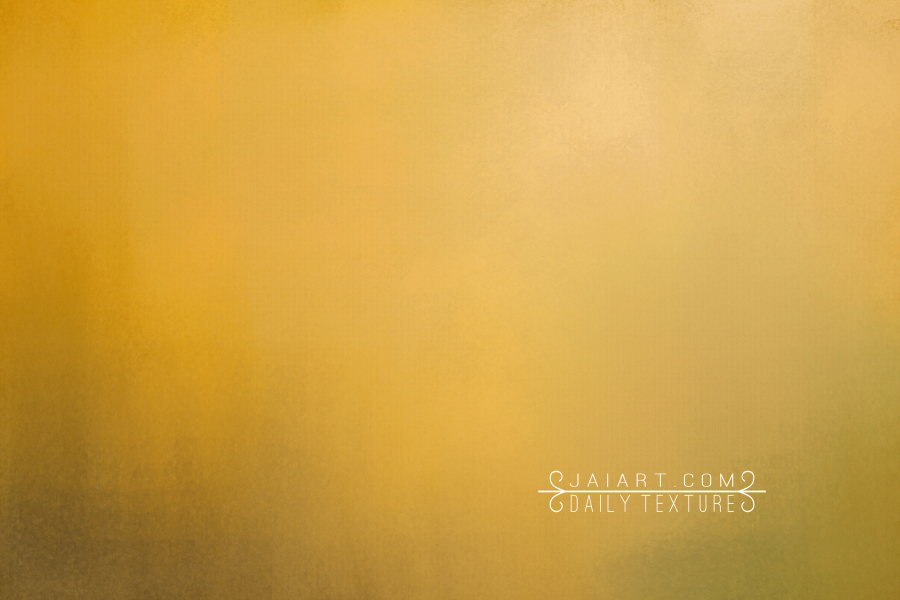
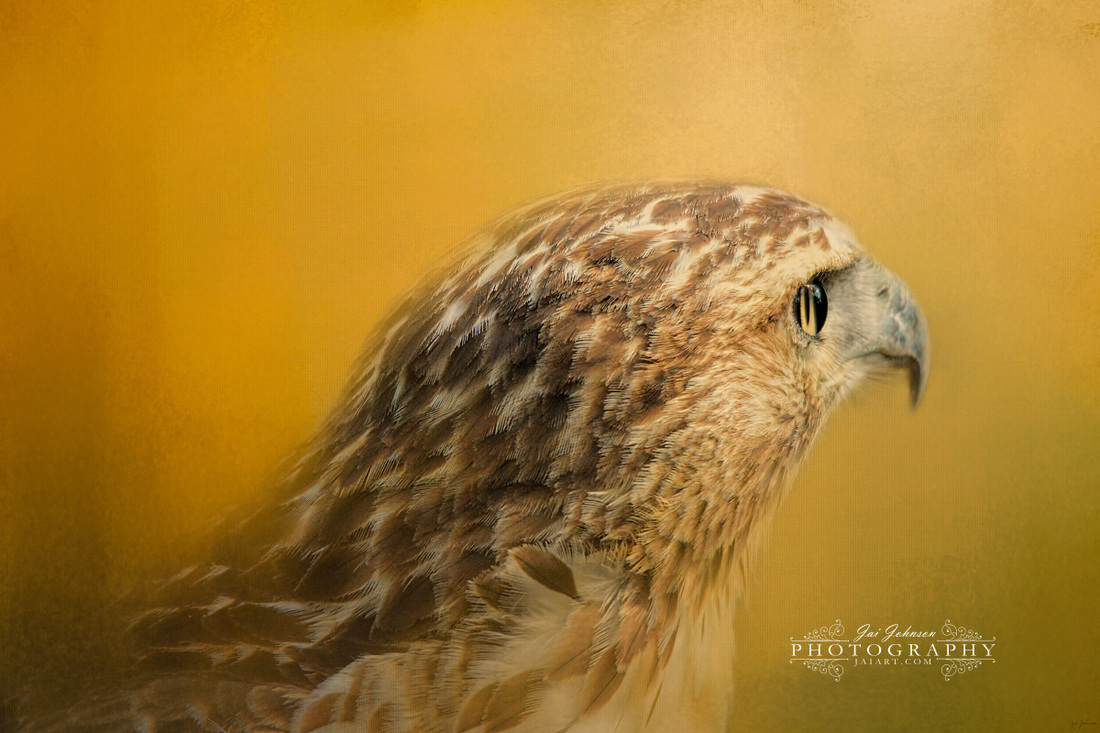
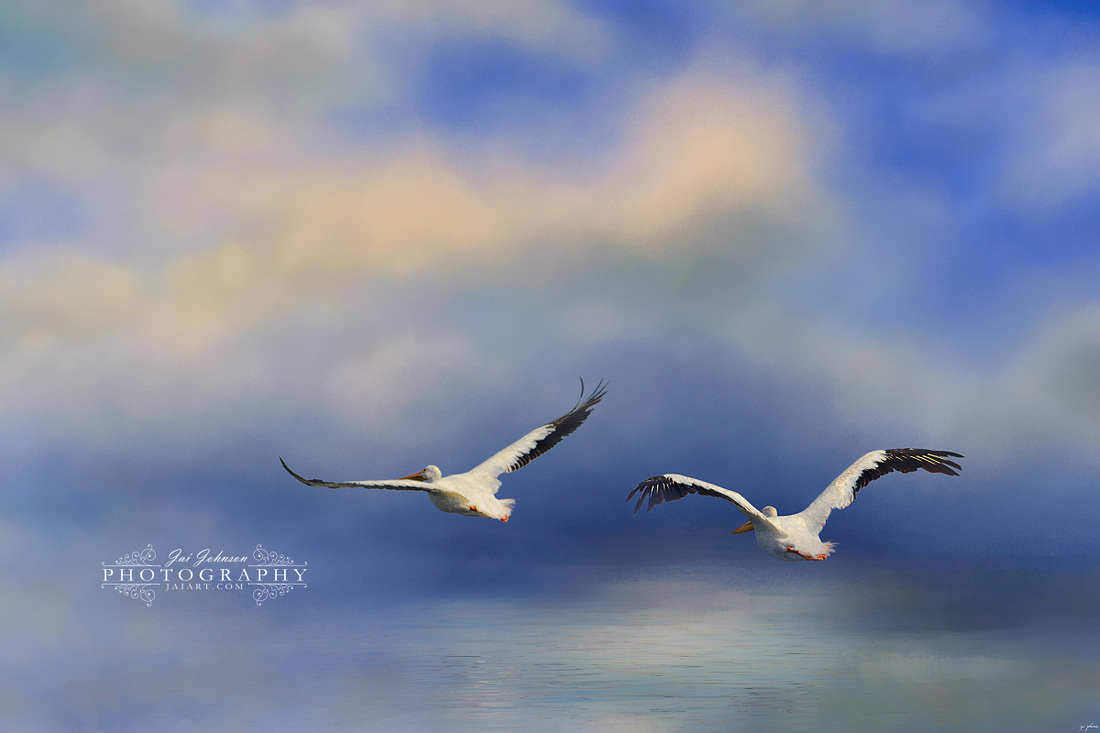
Like this texture? Buy it here for only $2. Commercial Use OK. | I really didn't intend on using Today's Daily Texture "Sunrise At Sea" with this cat photo. But when I saw her yellow-green eyes with a tiny spot of turquoise blue showing, I realized it matched this texture perfectly! So my example today is my cat Peanut, but I probably will also pair this texture with some of my water bird photos, and I might even use it with a dog in my dog series. :) To achieve this look with Peanut, I placed the texture on top and masked it off her body and face. Then I duplicated that same texture layer, and set it to multiply at 100%. Then I duplicated it again and set it to overlay at 100%. After merging all the layers, I did a brightness adjustment to the completed image. |


 RSS Feed