The Daily Texture for 01/24/2015
Elephant Dreams
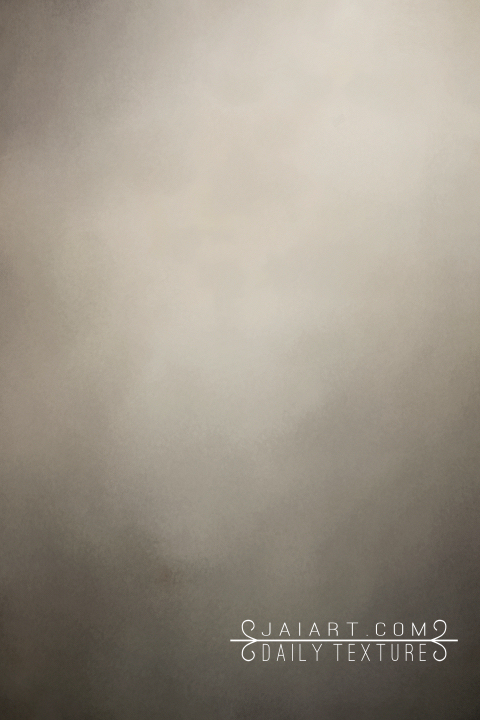
Today's Daily Texture is a neutral one featuring browns with a touch of gray, and a creamy white area useful for casting light on your subject. Which comes in handy when you have a subject like this, photographed in direct sunlight. Photographing in direct sunlight is something I really strive to avoid. On the day we were going to the zoo, I checked the weather and it said it was going to be cloudy until noon, at which time the sun would come out. We got an early start for the 1 1/2 hour drive, attempting to arrive at the zoo by 9am, which would give me 3 hours of photography time with no sunlight. Well....about the time we pulled into Memphis, here came the sun, full force. Sigh. So much for that!
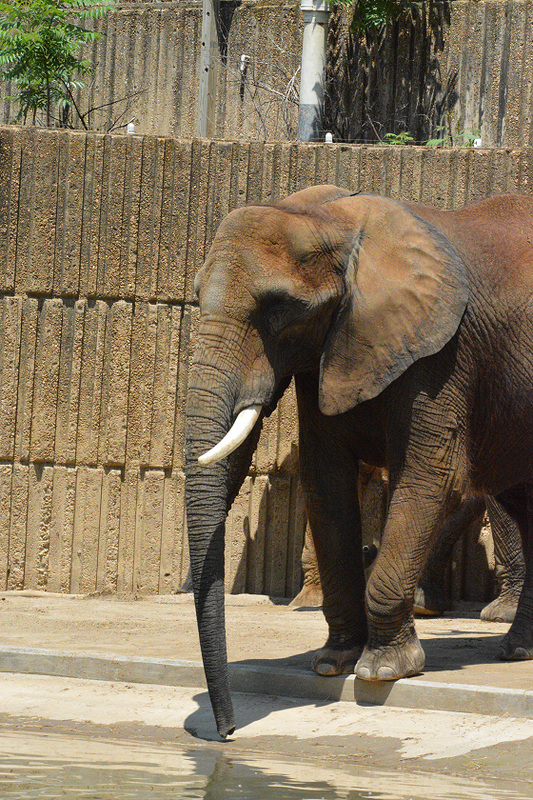
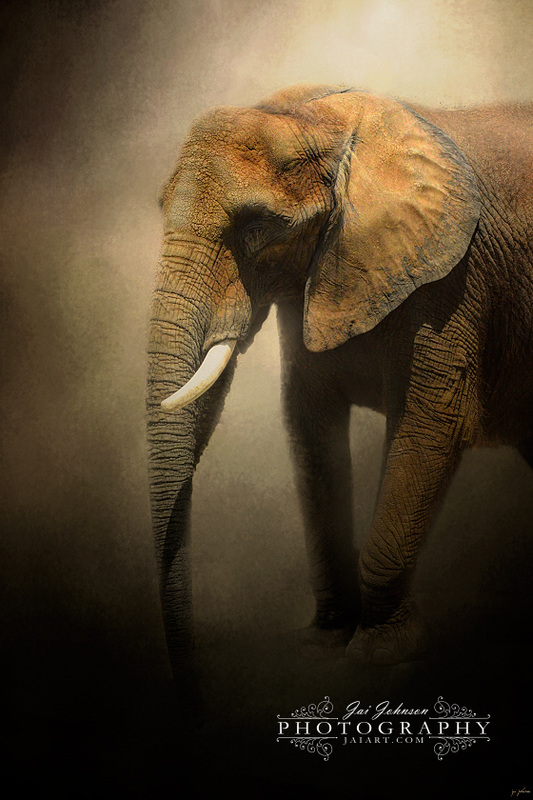
So here's my original photo of an elephant, loaded with harsh sun shadows. There's no good {or easy} way to get rid of them...it's best to just suck it up and work with them. First I masked out the elephant, leaving the original texture beneath him. Then it was time to work on this sunlight issue. I had two layer modes in mind...multiply {which darkens things} and overlay {which makes things a little richer in tone AND brightens any areas with highlights}. I duplicated the texture layer and placed it on top, setting it to multiply at 100%. This brought in some darkness around the ground level...which I liked, but it wasn't enough to suit me. So I placed another duplication of the texture layer on top, setting it to multiply as well, but only at 50%. Now I was liking the ground level and the way his feet blended much better. For a final step, I duplicated the texture layer yet again, and placed it on top of everything, setting it to overlay at 100%. This made the light on his head/face/ears/back just glow, and gave the colors a richer tone. I really, really love this outcome for an otherwise crappy zoo snapshot, so I'm calling this one DONE. :)
So here's my original photo of an elephant, loaded with harsh sun shadows. There's no good {or easy} way to get rid of them...it's best to just suck it up and work with them. First I masked out the elephant, leaving the original texture beneath him. Then it was time to work on this sunlight issue. I had two layer modes in mind...multiply {which darkens things} and overlay {which makes things a little richer in tone AND brightens any areas with highlights}. I duplicated the texture layer and placed it on top, setting it to multiply at 100%. This brought in some darkness around the ground level...which I liked, but it wasn't enough to suit me. So I placed another duplication of the texture layer on top, setting it to multiply as well, but only at 50%. Now I was liking the ground level and the way his feet blended much better. For a final step, I duplicated the texture layer yet again, and placed it on top of everything, setting it to overlay at 100%. This made the light on his head/face/ears/back just glow, and gave the colors a richer tone. I really, really love this outcome for an otherwise crappy zoo snapshot, so I'm calling this one DONE. :)
Like this texture? Buy it here for only $2. Commercial Use OK.
| 
|
 RSS Feed