The Daily Texture for 07/19/2015
Longing for a Blue Stream
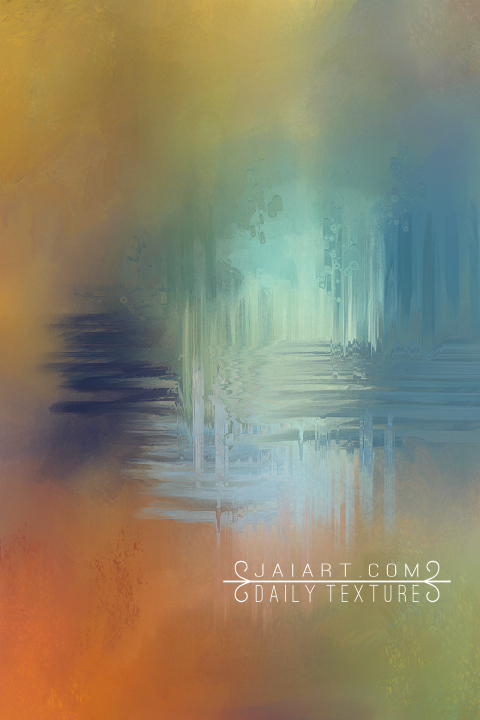
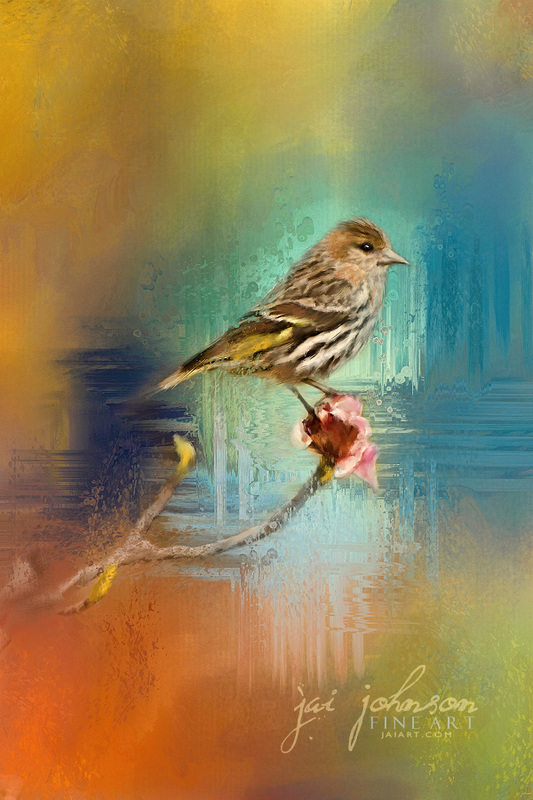 Like this texture? Buy it here for only $2. Commercial Use OK. | Today's Daily Texture is a colorful one, filled with a variety of abstract brush strokes. I used this texture as a background for my newest painting "Many Colors". It first began with a photo + texture merging, as I normally do. But I decided to take things one step further and actually do a painting of the bird {leaving the texture alone}. Of course I didn't save the photos as I went, so I can't show you step by step. And I know that stinks because as visual artists, we learn best by seeing it, rather than just reading it. But bear with me, and see if you can follow what I did here! 1) Bottom layer=texture 2) Next layer=photo, with background masked away to blend bird with texture 3) Next layer=texture on soft light layer mode, desaturated about 50% and masked off the bird {because it made him pick up too much blue} It was at this point, I decided to go the painting route. So I duplicated the photo layer, and this took #3 place in my layers panel, moving the original #3 layer to #4 {meaning the soft light layer was now on the very top}. Using the Topaz Simply 4 module in the Topaz software suite, I chose one of the BuzSim selections. I don't remember which one {there are 5 or so}, but it was one which kept the colors of the bird accurate, and still had some detail. I ran that filter and was taken back to my layers panel. I reduced the opacity of this layer {#3} by 50%, to allow some of the detail from layer #2 {the photo layer} to show through. So now I had a mix of a photo of the bird + a simplified "Painterly" looking bird. {which is what Buzsim does...it simplifies things and makes for a great base-painting!} Then I merged everything, and took the full image into Corel Painter 12. In Corel Painter 12, I did a CLONE, which basically copied my image onto the clipboard with no tracing paper. By using CLONE instead of QUICK CLONE, I was able to keep the textured background just like it looked, and simply paint the bird right on top of what was already there. Using a variety of brushes, I painted the bird. At first the brushes were set to clone as well, in order to pull from the original colors of the bird. Then I decided to make my bird more colorful, and add more strokes, so I took my brushes OFF clone and began adding colors and strokes until I got my bird, flower and branch painted like I wanted. I added some splatter from a variety of brushes, simply because I like to have fun, get messy, and throw paint, just like when I used to paint with acrylics in the studio. :) After I was done playing, I saved my new painting, which had a good head start and a lot less work because my background texture was already complete before I began. |
 RSS Feed